
Physical Setup / Run Tickets
What are Run Tickets
Run tickets are used to enter volumetric data into the W energy application. Run Ticket data can be inputted into the system in multiple ways but the two main ones are to manually create a ticket and to use the run ticket import template.
Why would a client use Run Tickets
A client would use Run Tickets to input their volumetric data into the application. This will be used to populate their inventory result screens and to generate settlement data used for invoicing.
What Configurations apply when using Run Tickets
path_run_ticket_at_group_level: true
When set to true allows the Origin/Destination field on Path Tickets to be a group, when false then Origin/Destination is a Meter.
How to input Run Tickets into the system
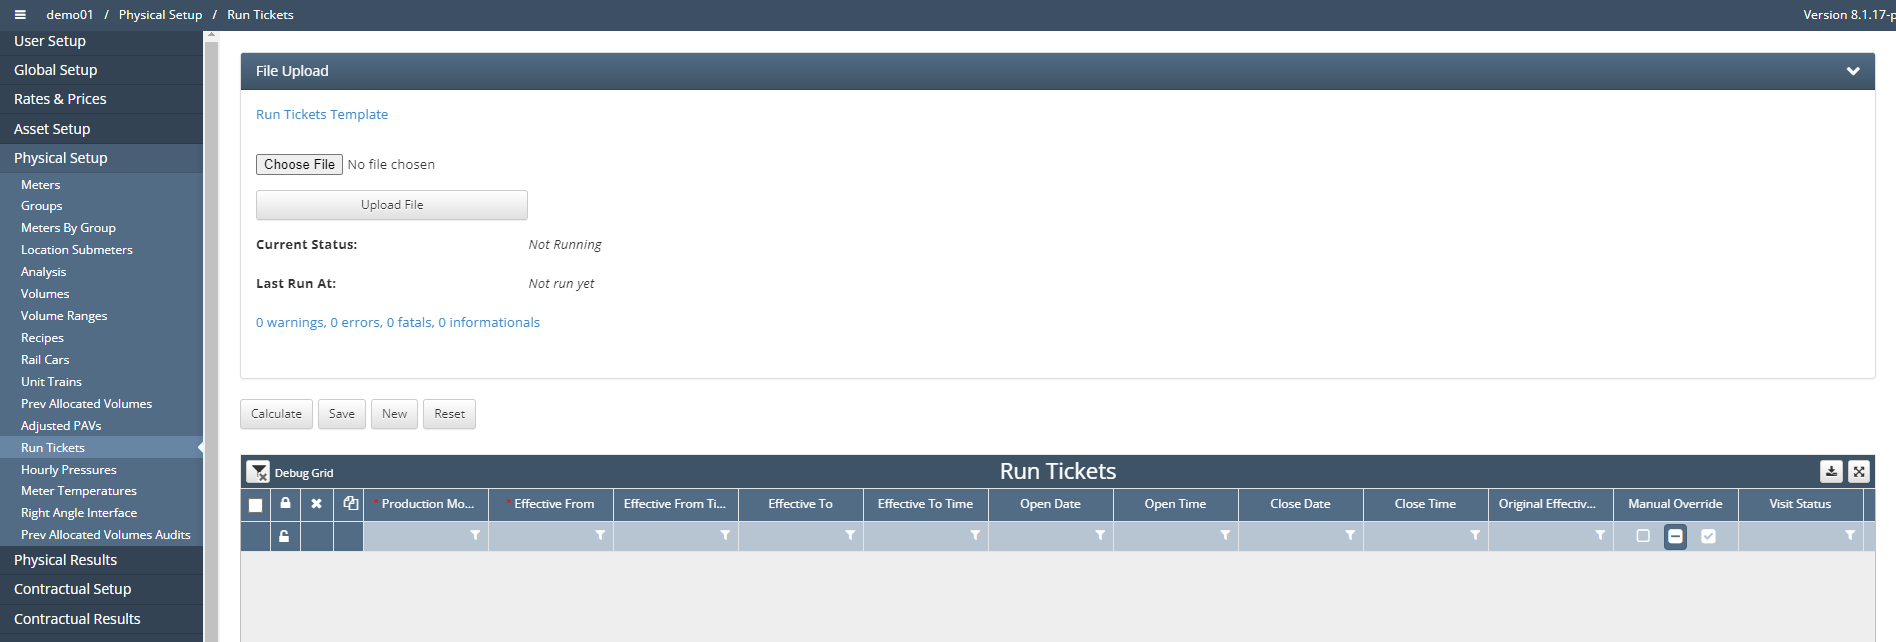
As mentioned there are two ways to enter run ticket data: manually or via run ticket template importer. In either case, the user must first navigate to Physical Setup / Run Tickets, once there click the ‘File Upload’ button in the top left hand corner to show the upload option. This is where the user can click ‘Run Tickets Template’ that initiate the download of the template for the user to populate
Once downloaded the user can open up the excel template file to begin populating. The file comes with three sheets
Intro: Provides information on what fields are required and what each field is referring to
Tickets: This is main sheet where user will post run ticket data
Component Volumes: This sheet can be used for multiple reasons but its primary purpose is to include component volumes.
A ticket entered on the Tickets sheet could be for a blended product and then on the component volume sheet the user could reference the same ticket and have the volume broken out by component
There are over 100 different fields that can be populated via the run ticket template so for the purpose of this training we will strictly cover the most used/important fields (* means that this field is a required field and can not be left null)

Ticket Number*: Unique number to identify a ticket
Visit Start Date*: Date the ticket is effective from
Visit Status*: Must match a given value setup in Visit Statues code table
Meter Number*: Meter that the ticket should be associated with
Product*: Product that the ticket volume represents
Parent Product: If the product is the component of another then include the parent product here
Net Volume: Net Standard Volume for the associated ticket
Ticket Type: Receipt or Delivery
Batch ID: Identification number tied to a batch of pipeline tickets
Contract Number: Contract that the ticket/volume is assigned to
Load Date: Information field to record date of the movement
Load Time: Information field to record the time of the movement
Carrier Mode: Must match a given value setup in Carrier Mode code table
Shipper Number: Matched against a BA number, typically the contract party of the contract that it is assigned to
UOM: The unit of measure that the volume is recorded in
Once the run ticket template has been populated, the next step is for the user to upload the file. Click ‘Choose File' and select the correct file that needs to be uploaded. Upon selecting the file click the ‘Upload File’ button to initiate the upload process.
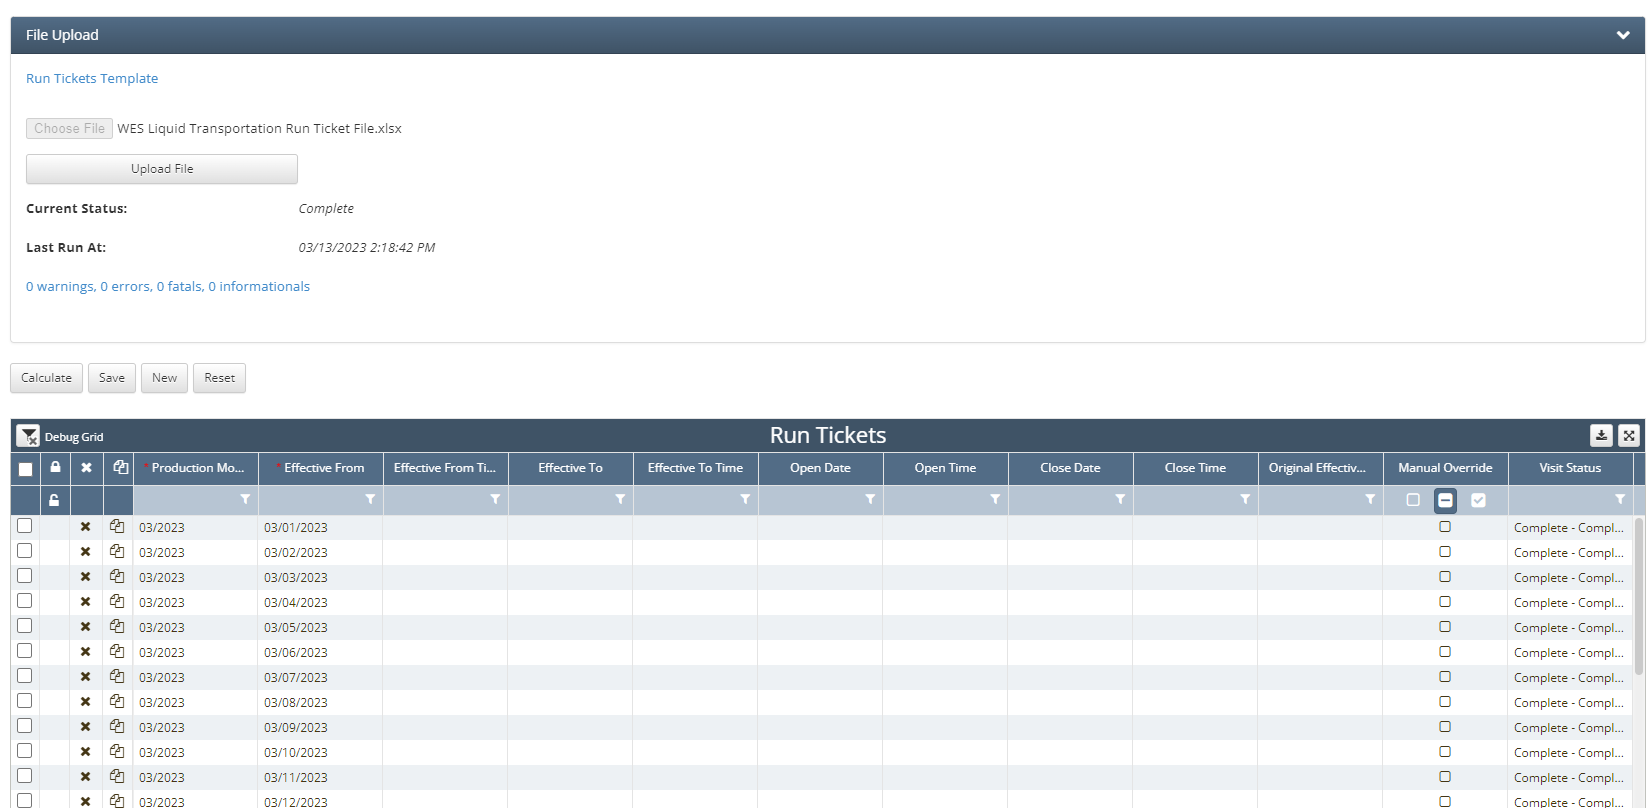
Once the upload is complete the system will update the Current Status, Last Run At, and provide an error log including information on any warnings, errors, fatals, or informational that were generated during the upload process.
The process to enter a ticket manually starts with clicking the ‘New' button and this will create a new line item at the bottom of the run ticket grid
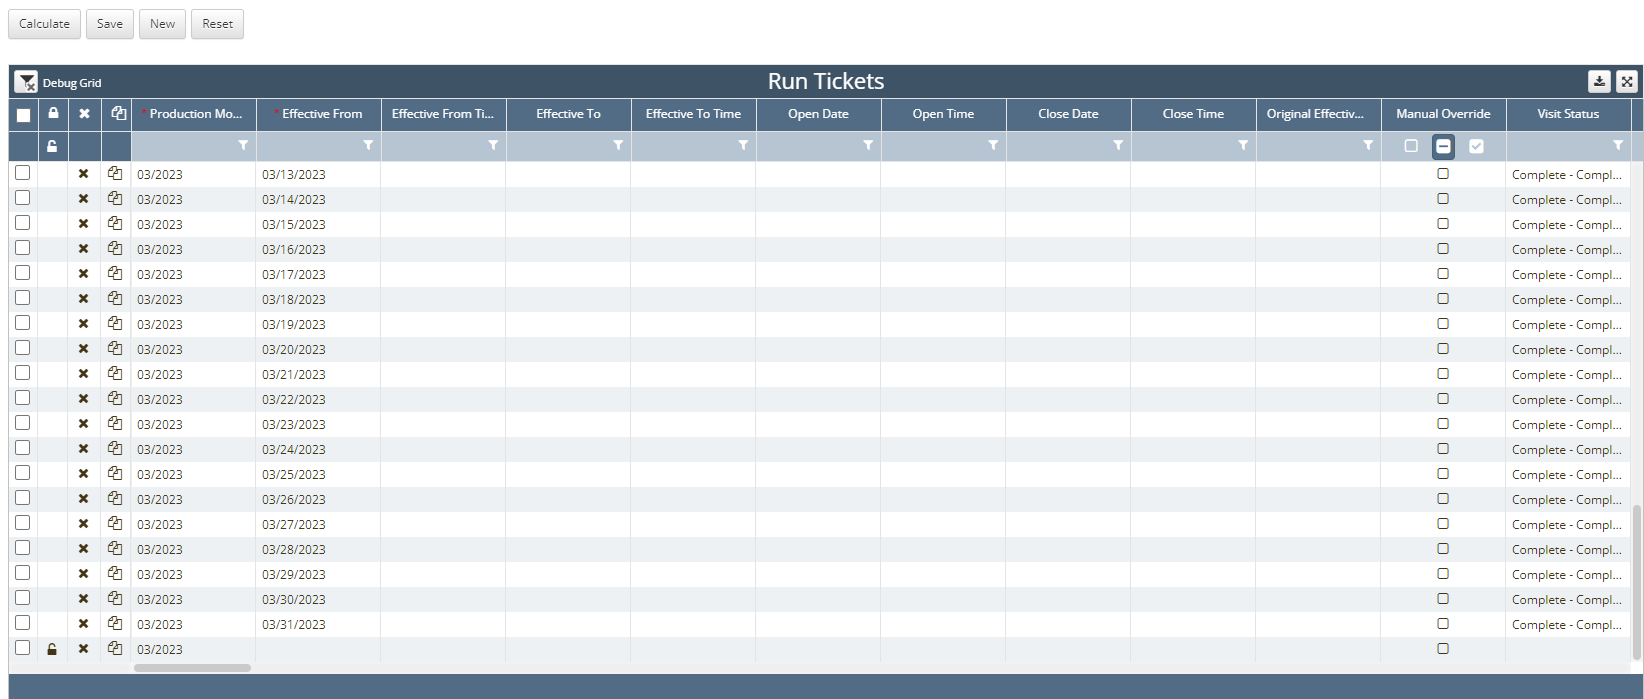
The new entry is noted by the lock key in black next to that line item. This indicates that there is a new entry that has yet to be saved. Once creating a new line item, the next steps are to fill out the necessary fields by populating each one individually and once complete clicking the ‘Save’ button.
The ‘Calculate’ button is used if volumetric data is entered in one unit and a volumetric conversion is setup to also include the volume in another unit.
The ‘Reset’ button is used to revert manually changes that have yet to be saved.
Any ticket that was entered into an asset using the run ticket template upload or manually entry can be updated via this grid.
There are only 5 required fields to enter a run ticket, however, there are over 100 different fields were data can be stored and used as an informational point or that drives other functionality within the system.
How does this concept impact/feed other areas in the application?
Run Ticket data will be used along with other setup pieces and configurations to populate allocation, inventory, & valuation based result screens. Without run ticket data there wouldn’t be volumetric data in the system to analyze.